How to Clean Mattress Toppers With Removable Covers
Always check the care label first-you could void the warranty or damage memory foam with the wrong method. Unzip the cover gently and wash it in cold water with mild detergent on a gentle cycle, avoiding bleach. Spot-clean stains with a damp cloth and let dry fully, ideally with airflow and brief sun exposure. Never use a dryer unless the label says it’s safe. Reassemble only when completely dry to prevent mold. For long-term care, regular maintenance keeps your sleep surface fresh and supportive.
Notable Insights
- Check the care label for material-specific cleaning instructions to avoid damage and maintain warranty coverage.
- Unzip and remove the cover carefully, peeling from one corner to prevent tears and support inner layers.
- Wash the cover on a gentle cycle with mild detergent in cold or warm water, if label permits.
- Treat stains promptly by blotting, then spot-clean with a mild detergent and cold water solution.
- Air-dry all parts completely, flipping periodically, before reassembling to prevent mold and odors.
Check the Mattress Topper Care Label First
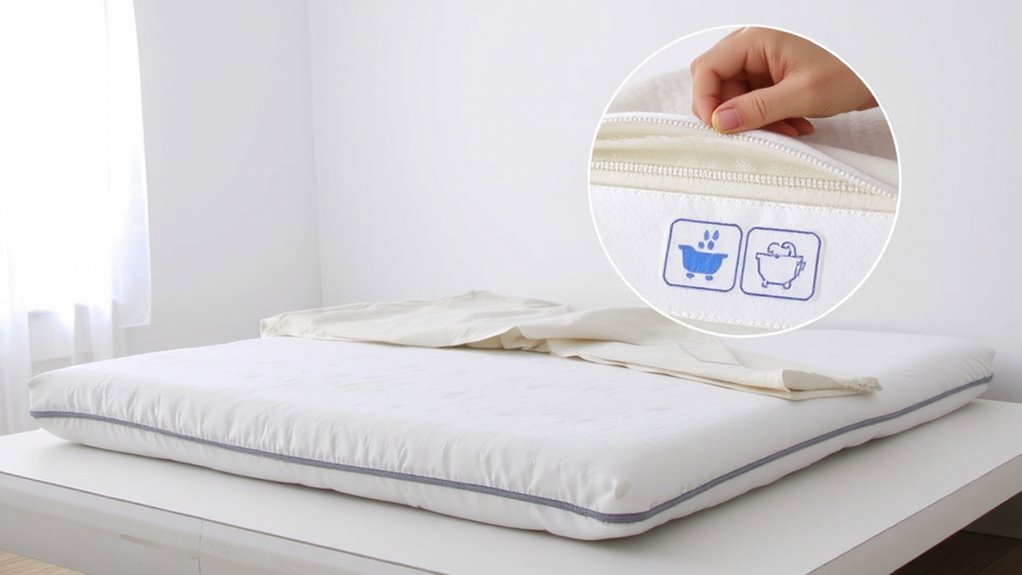
Before you begin cleaning, take a moment to locate the care label on your mattress topper, since it’s the most reliable source for safe cleaning methods. You’ll usually find it stitched into a seam, and it provides specific instructions based on the topper’s materials and construction. Following these guidelines closely helps prevent water damage, which can compromise inner layers and lead to sagging or deterioration over time. Proper care also supports mold prevention, especially important if you live in a humid climate or tend to sweat during sleep. Excess moisture trapped inside can create ideal conditions for mold, impacting both durability and air quality. Even if the cover is removable, the inner topper may require spot cleaning only. Ignoring the label might void the warranty, so checking now saves hassle later. This small step guarantees your cleaning method aligns with the manufacturer’s design, preserving comfort and extending the product’s life for better long-term sleep support.
Remove the Mattress Topper Cover Carefully
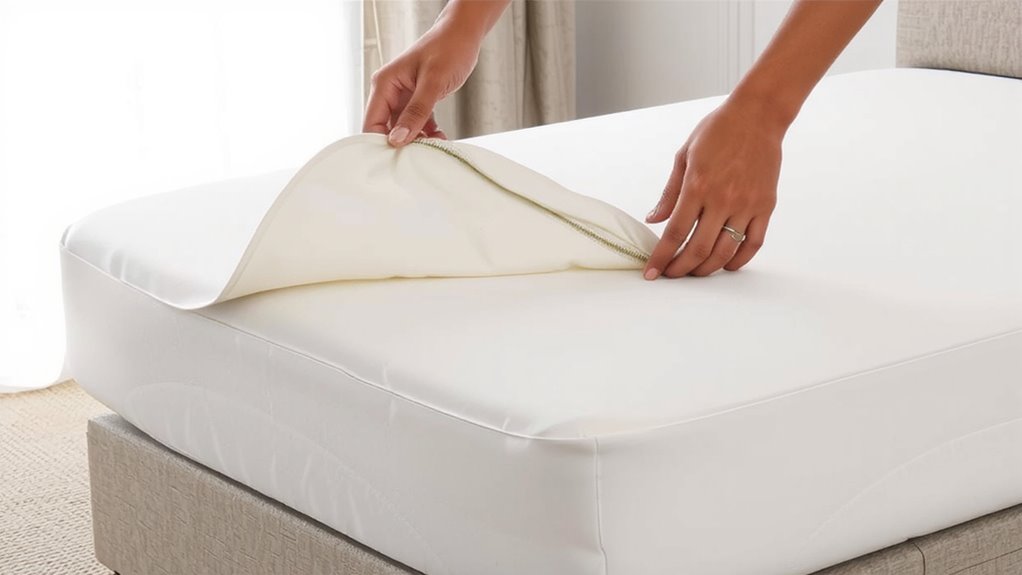
| Step | Action |
|---|---|
| 1 | Unzip the cover fully |
| 2 | Peel from one corner gradually |
| 3 | Support inner layers while removing |
| 4 | Inspect for snags or loose threads |
This helps preserve the topper’s performance and extends its usable life through proper upkeep.
Wash the Mattress Topper Cover Properly
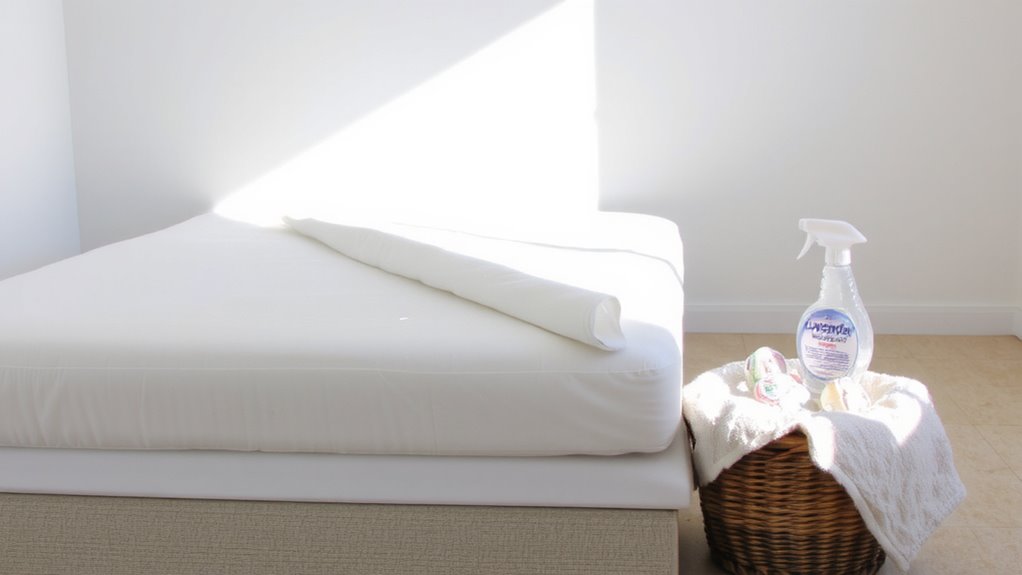
Now that you’ve removed the cover without damaging the inner layers, it’s time to get it clean so it continues supporting restful sleep. First, check the care label to identify the fabric type-most commonly cotton, polyester, or a blend-since this affects how it should be washed. If the label says machine washable, place it in the washing machine with mild detergent. Use cold or warm water on a gentle cycle to protect the fibers and stitching. Avoid bleach and harsh chemicals that can weaken the material over time. Don’t overload the machine; give the cover room to move freely for even cleaning. If your washing machine is small, consider using a laundromat with larger-capacity machines to prevent strain. Spin-drying is okay, but reduce speed to minimize wrinkling. Always follow manufacturer instructions to preserve warranty eligibility.
Clean Stains on the Topper Safely
A little accident shouldn’t spoil the comfort you rely on for restful sleep. When stains appear on your mattress topper, act quickly with spot treatment to prevent lingering odors or damage. First, blot up any excess liquid-don’t rub, as that spreads the stain. Use a mild detergent mixed with cold water, then apply it carefully to the affected area. Let it sit for 5–10 minutes to break down the stain without soaking too deeply into the foam or filling. Follow with gentle scrubbing using a soft cloth or sponge, focusing only on the stained zone to avoid unnecessary wear. Avoid harsh chemicals or bleach, which can weaken the topper’s materials over time. This method preserves the structural integrity of the padding while targeting soiling effectively. Proper spot treatment maintains hygiene and extends the life of your sleep surface without affecting performance.
Air-Dry All Parts Completely
After cleaning, make sure every part dries fully before reassembling your mattress topper, since trapped moisture can lead to mildew or a weakened structure over time. Lay the cover and topper separately in a well-ventilated area, away from direct heat sources that might damage fibers. If possible, use sunlight exposure briefly-it helps with natural disinfection and odor prevention-just avoid prolonged UV contact that could degrade materials. Flip both sides periodically to speed up drying and guarantee even air circulation. Most covers dry in a few hours, but thicker toppers may need 24–48 hours depending on humidity. Never rush the process with a dryer unless the care label explicitly allows it. Complete drying preserves the topper’s supportive performance and extends its usable life, which matters if you’re managing sleep comfort or sensitivity to allergens. Proper airflow and patience support better long-term results.
Reassemble the Mattress Topper Safely
Once everything’s fully dry, you’re ready to put the mattress topper back together without risking damage or discomfort. Start by guaranteeing correct alignment-line up the corners and edges of the cover with the topper’s shape so it lies flat and smooth. Misalignment can create lumps or shifting during sleep, affecting support. Next, focus on secure fastening. Most covers use zippers or snap closures; fasten them completely but gently to avoid tearing the fabric. A well-fastened cover stays in place, maintaining consistent comfort and protecting the internal layer. Check that seams lie flat and no material is bunched. This step preserves the topper’s structure and performance over time. Reassembling correctly helps maintain warranty conditions and supports long-term durability. Taking a few extra minutes now guarantees even wear and maximum sleep quality later.
Keep Your Mattress Topper Fresh Monthly
Usually, keeping your mattress topper fresh each month means a quick routine that helps maintain comfort and prolong performance. Start by removing the cover and washing it according to the care label-most are machine washable for easy odor prevention. While it dries, let the core air out in a well-ventilated space; these ventilation tips help reduce moisture buildup that can lead to mildew. Avoid direct sunlight, which may degrade foam over time. Rotate the topper every few weeks to promote even wear and better support. If you notice slight odors, sprinkle baking soda lightly, wait 15 minutes, then vacuum. This small step makes a difference in long-term freshness. A monthly check also lets you assess wear, so you can decide if a replacement or trial model might improve sleep quality. Many brands offer warranties or sleep trials, so keep those records handy. For optimal comfort, consider upgrading to a memory foam mattress topper if your current model shows signs of sagging or reduced support.
On a final note
You’ve cleaned your mattress topper and cover correctly, which helps maintain comfort and support over time. Proper care extends its life and keeps sleep surfaces hygienic, important if you have allergies or respiratory concerns. A fresh topper can improve sleep quality, especially if you use one for pressure relief or temperature regulation. Always check warranty details before deep cleaning, since improper methods might void coverage. Test results over a few nights to see how your sleep responds.